Compatible hardware
The test.con software is designed to work seamlessly with "T" versions of Gantner Instruments PAC-enabled controllers, like Q.station XT or Q.station 101T, which already have the software license preloaded on the device. Additionally, each Q.monixx unit is delivered with an included test.con license.
From version 6.2 onward, support for e*/q-Devices has been discontinued; only Q.station and Q.monixx are supported.
Activating controller PAC Functionality for test.con applications
To download and run a test.con application on the controller, ensure that the PAC functionality of the controller is activated. In GI.bench, double-click the controller to open the Controller Settings window. Navigate to the Settings section and verify that Pac kernel mode is set to Activated. Click OK to confirm the changes and write the pdate to the controller.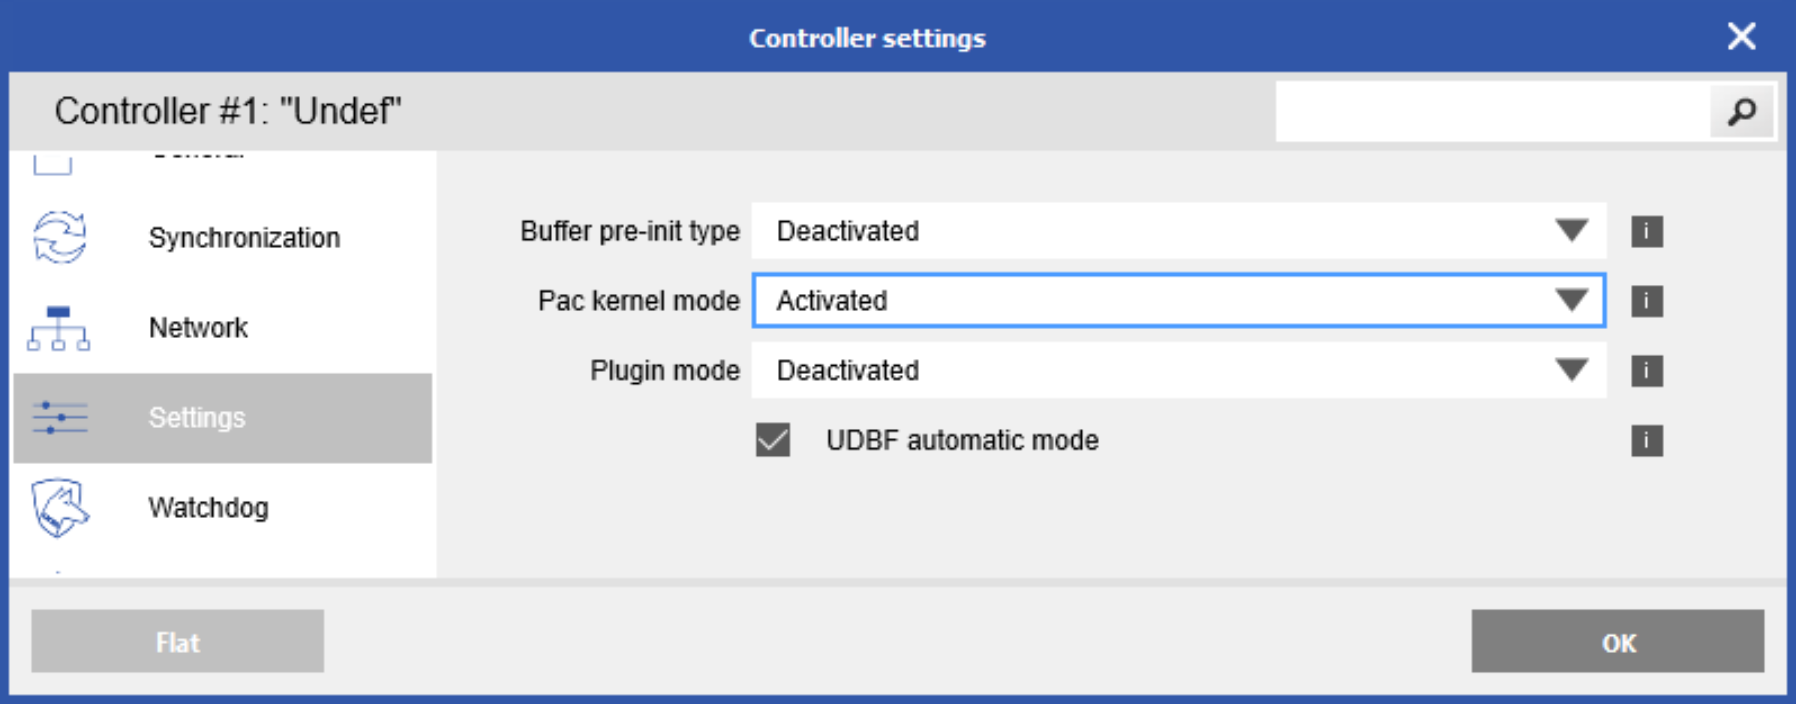
Creating a new test.con project
Launch the test.con software and navigate to Project > New. Depending on the software version, you will find templates tailored to the program based on the type of controller.
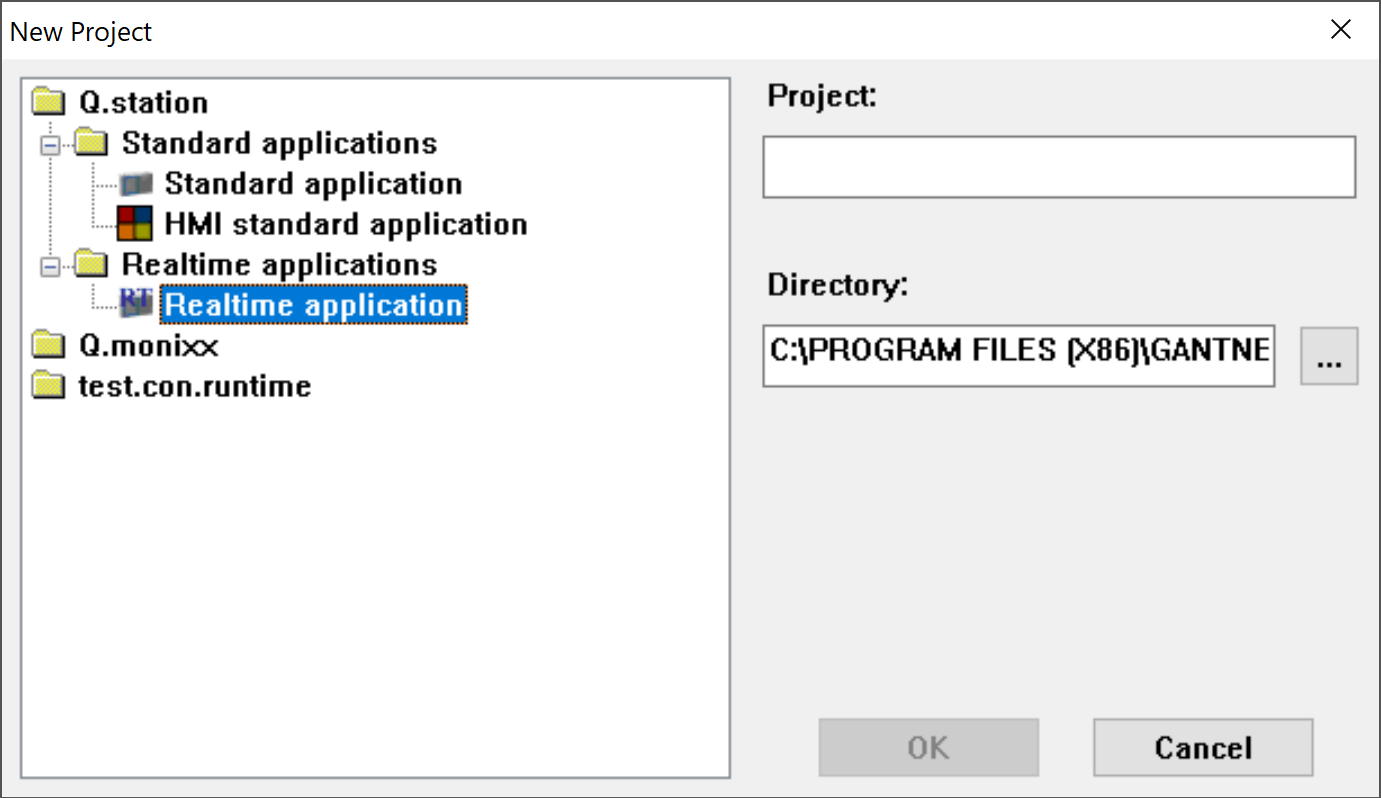
For the Q.monixx controller, a single standard template is available. In the case of the Q.station 101 and X controller, templates are provided for both standard/user-space and real-time applications. Within the Q.station standard application, there are several options, with HMI DPA being the most commonly used. For the Q.station, both user space and real-time applications can be loaded on the controller simultaneously and can operate collaboratively.
- User space application: Involves programming a user-defined graphical interface with a refresh rate of 100 Hz.
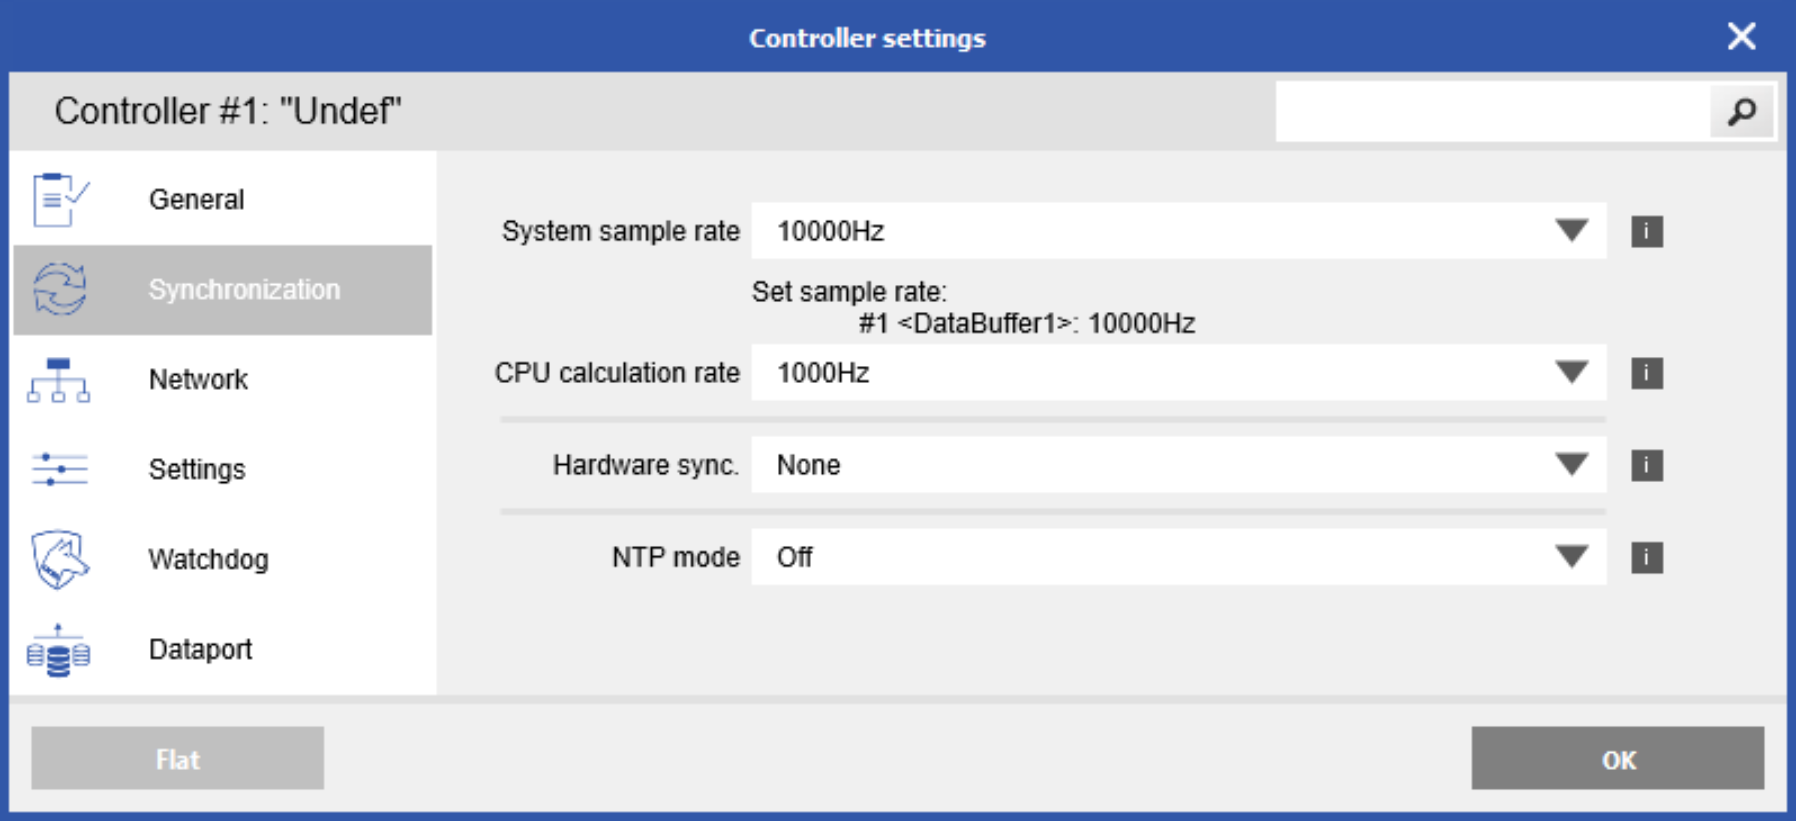
- Real-time application: Focuses on data transfer, data processing, and data buffering with a capacity of up to 10 kHz, based on the CPU calculation rate set in Controller Settings.
Developing a test.con application: an example
In this instance, we will be creating a simple test.con application (HMI DPA). Begin by assigning a name to the project and selecting OK. The default saving location is within the installation directory: C:\Program Files (x86)\Gantner Instruments\test.con [version #]\PROJECT ENGLISH
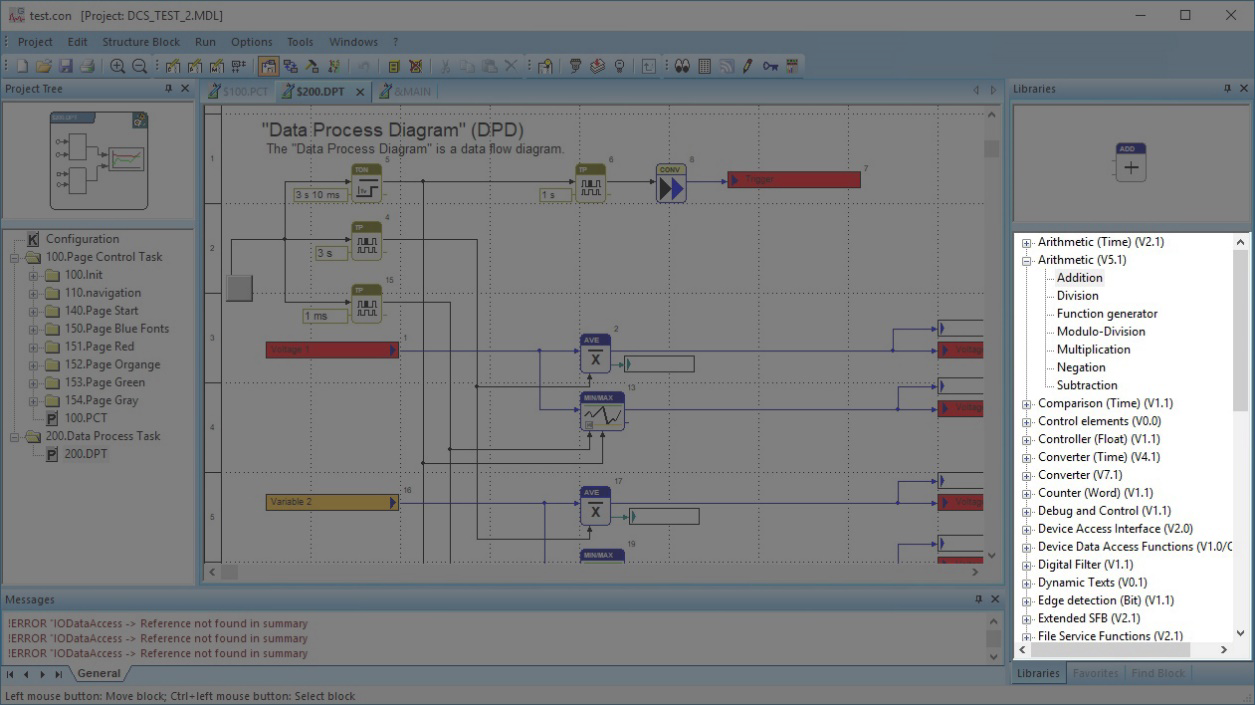
User Interface
This provides an overview of the graphical user interface of the software. Commands can be accessed through menus, the toolbar, context menus (right-click), and key combinations.
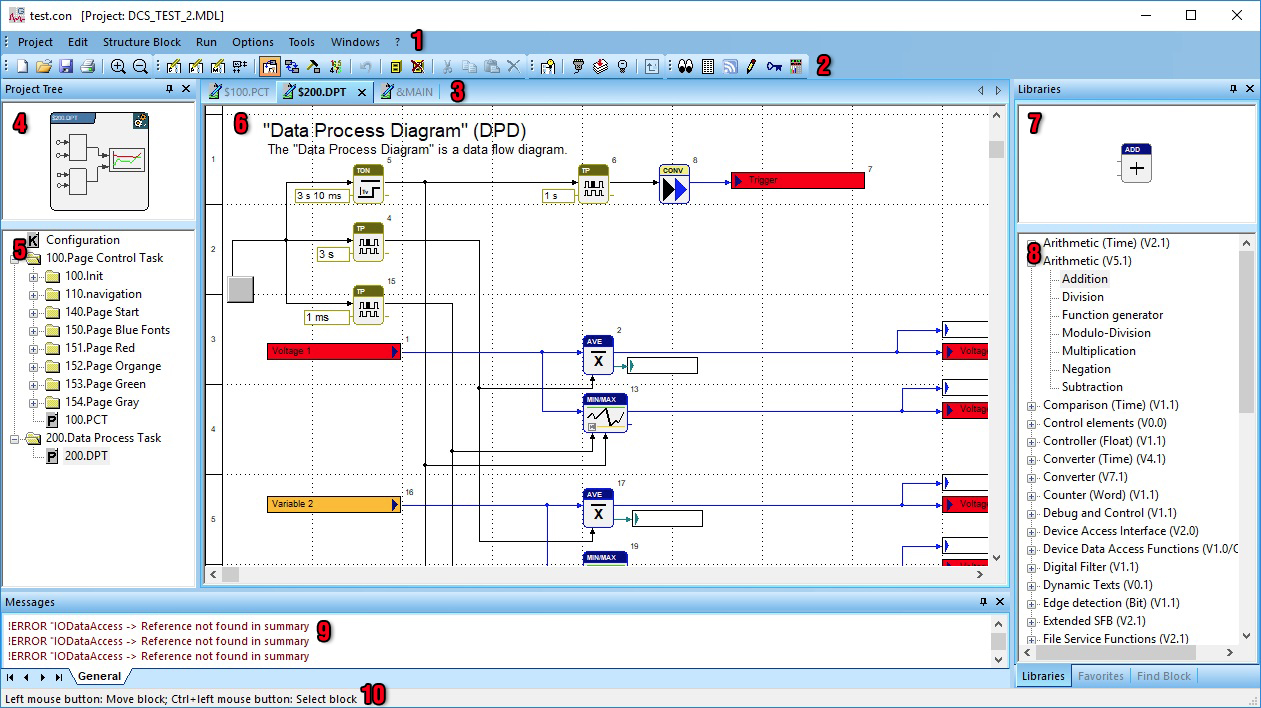
- Menu Bar: Provides access to various menus (Project, Edit, Structure Block, etc.).
- Toolbar: Offers quick access to common tools.
- Page Tabs: Displays recently opened pages, allowing easy switching between them.
- Structure Block: Illustrates the connection diagram of the active page.
- Project Tree: Presents an organized list of project pages.
- Workspace: Serves as the area to customize a program for the active page.
- Function Block: Indicates the currently selected function block.
- Function Block Library: Lists loaded libraries of function blocks.
- Blocks can be viewed by favorites or searched manually.
- Right-click on blocks to access the help menu for detailed information on each block.
- Message Window: Displays system messages and notifications.
- Status Line: Provides information about the current status of the system or operation.
Connecting to a controller
In order to interact with a controller, we will perform a scan and establish a connection. This process enables the selection of inputs/outputs within the program and facilitates the subsequent downloading of the project. It's important to note that connecting to a live system is not mandatory to initiate project editing.
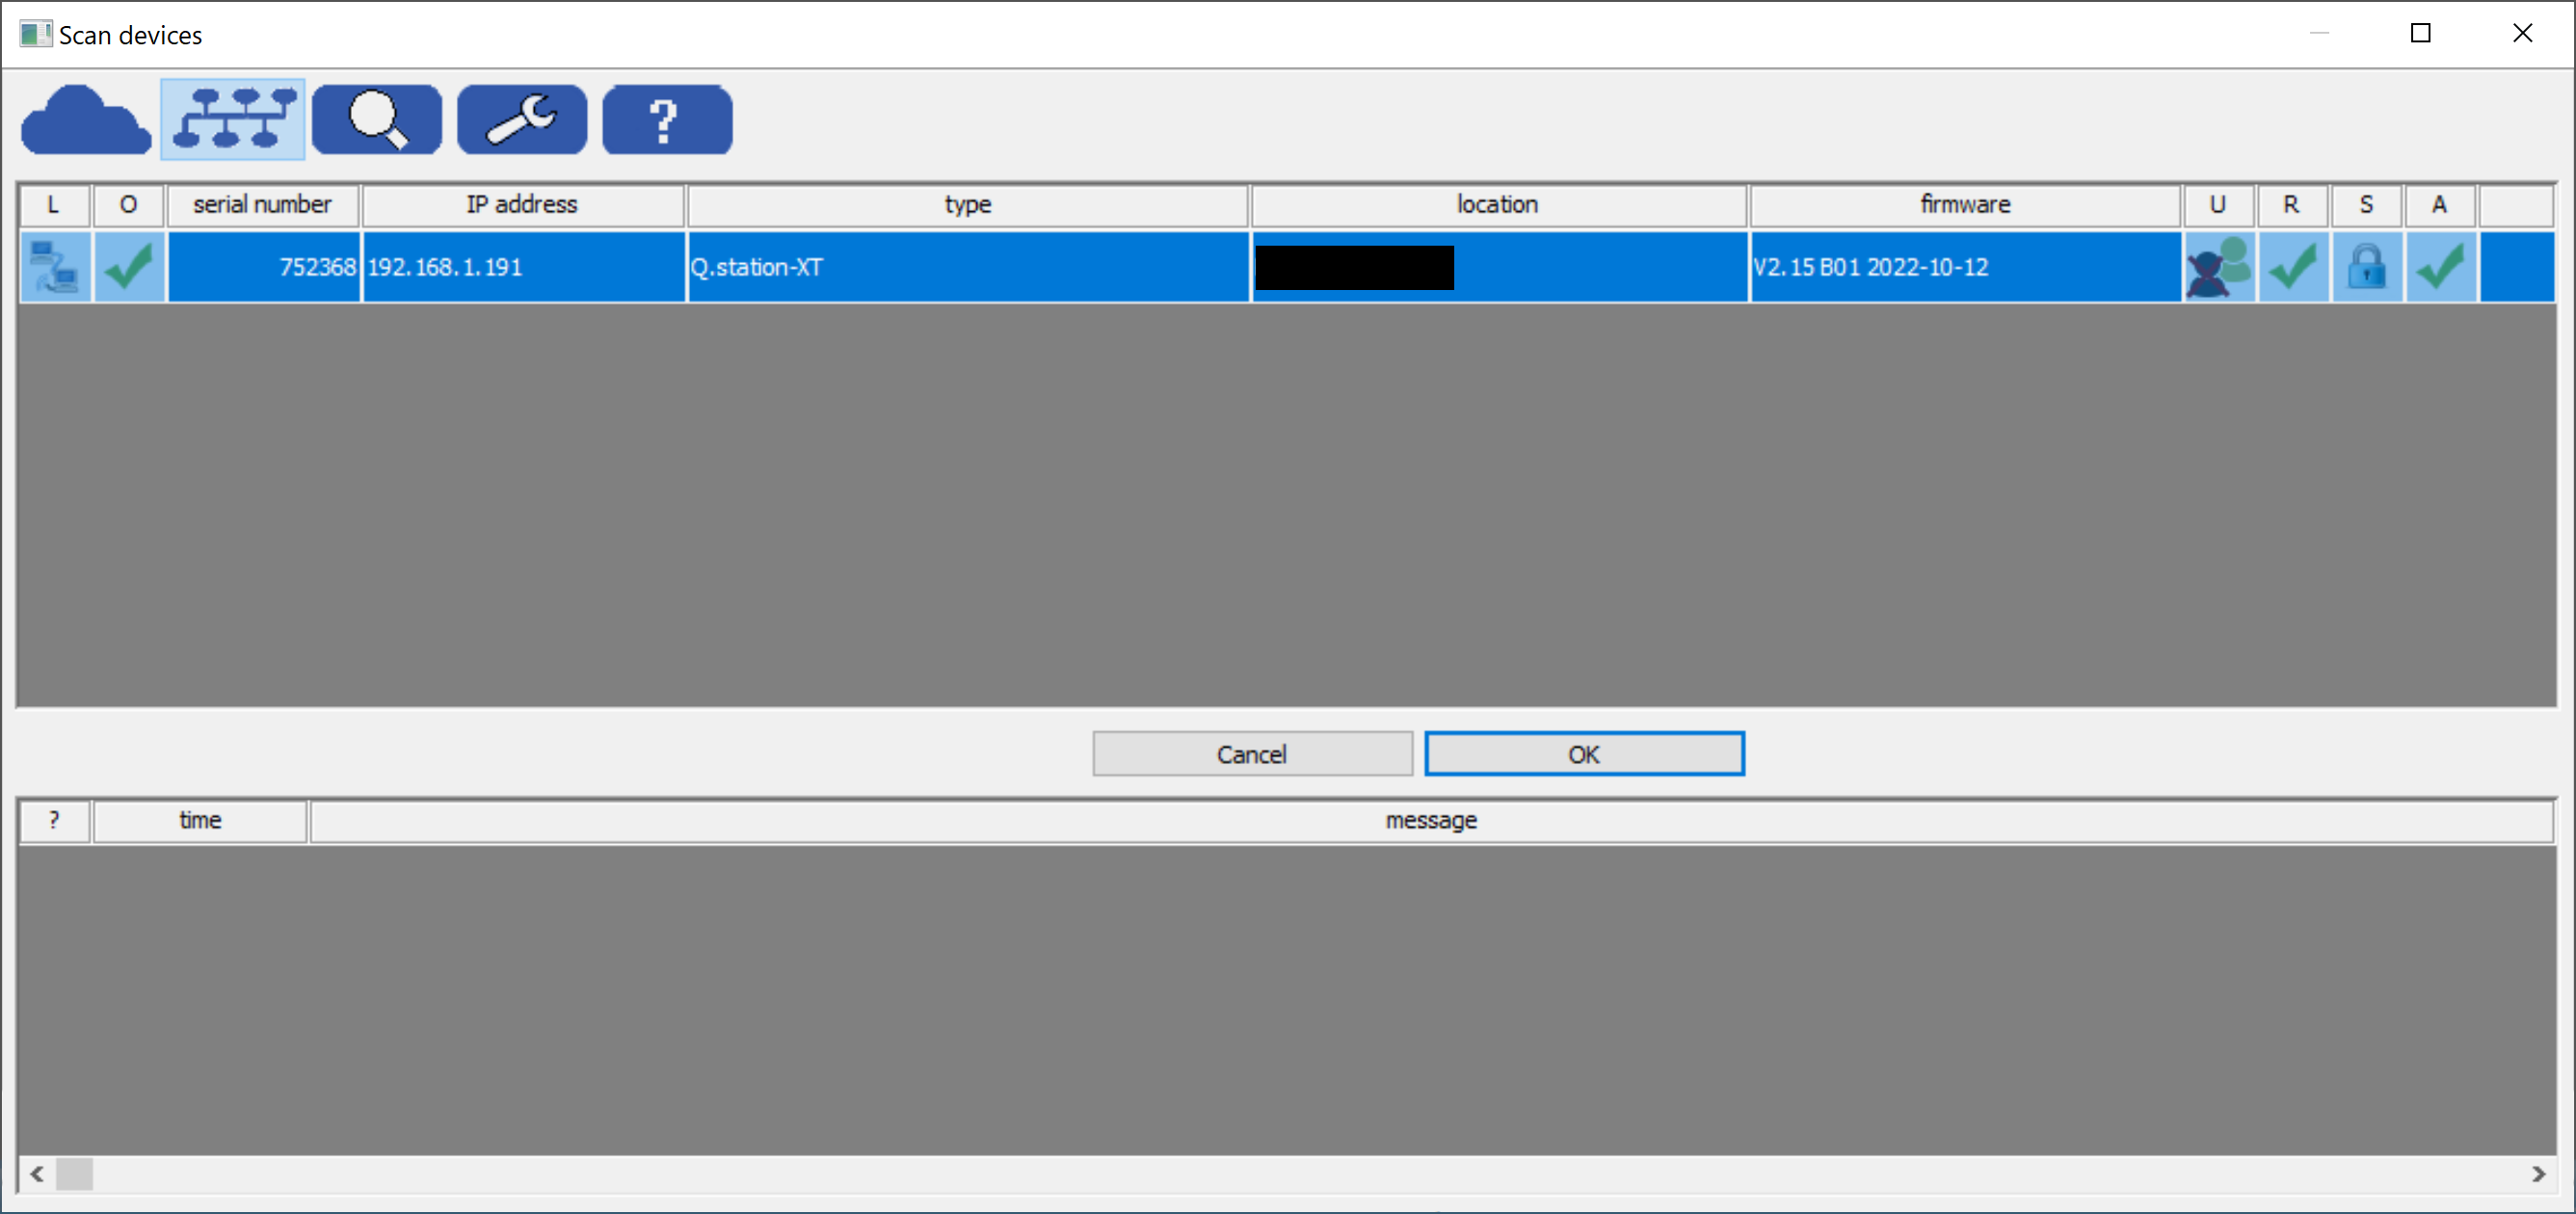
- Navigate to Tools > Network PAC-Scanner.
- The Network Scanner window will open and scan your network to detect a connected controller.
- Select the identified controller and click OK to establish the connection.
Function block library
In the test.con software, there exist various categories or libraries of function blocks. To ensure access to all function blocks, navigate to Project > Load Library. Choose the desired libraries from the available options and click Load. Once loaded, these libraries will be accessible in the function block library tree. It is important to note that this action is only necessary once per test.con project.
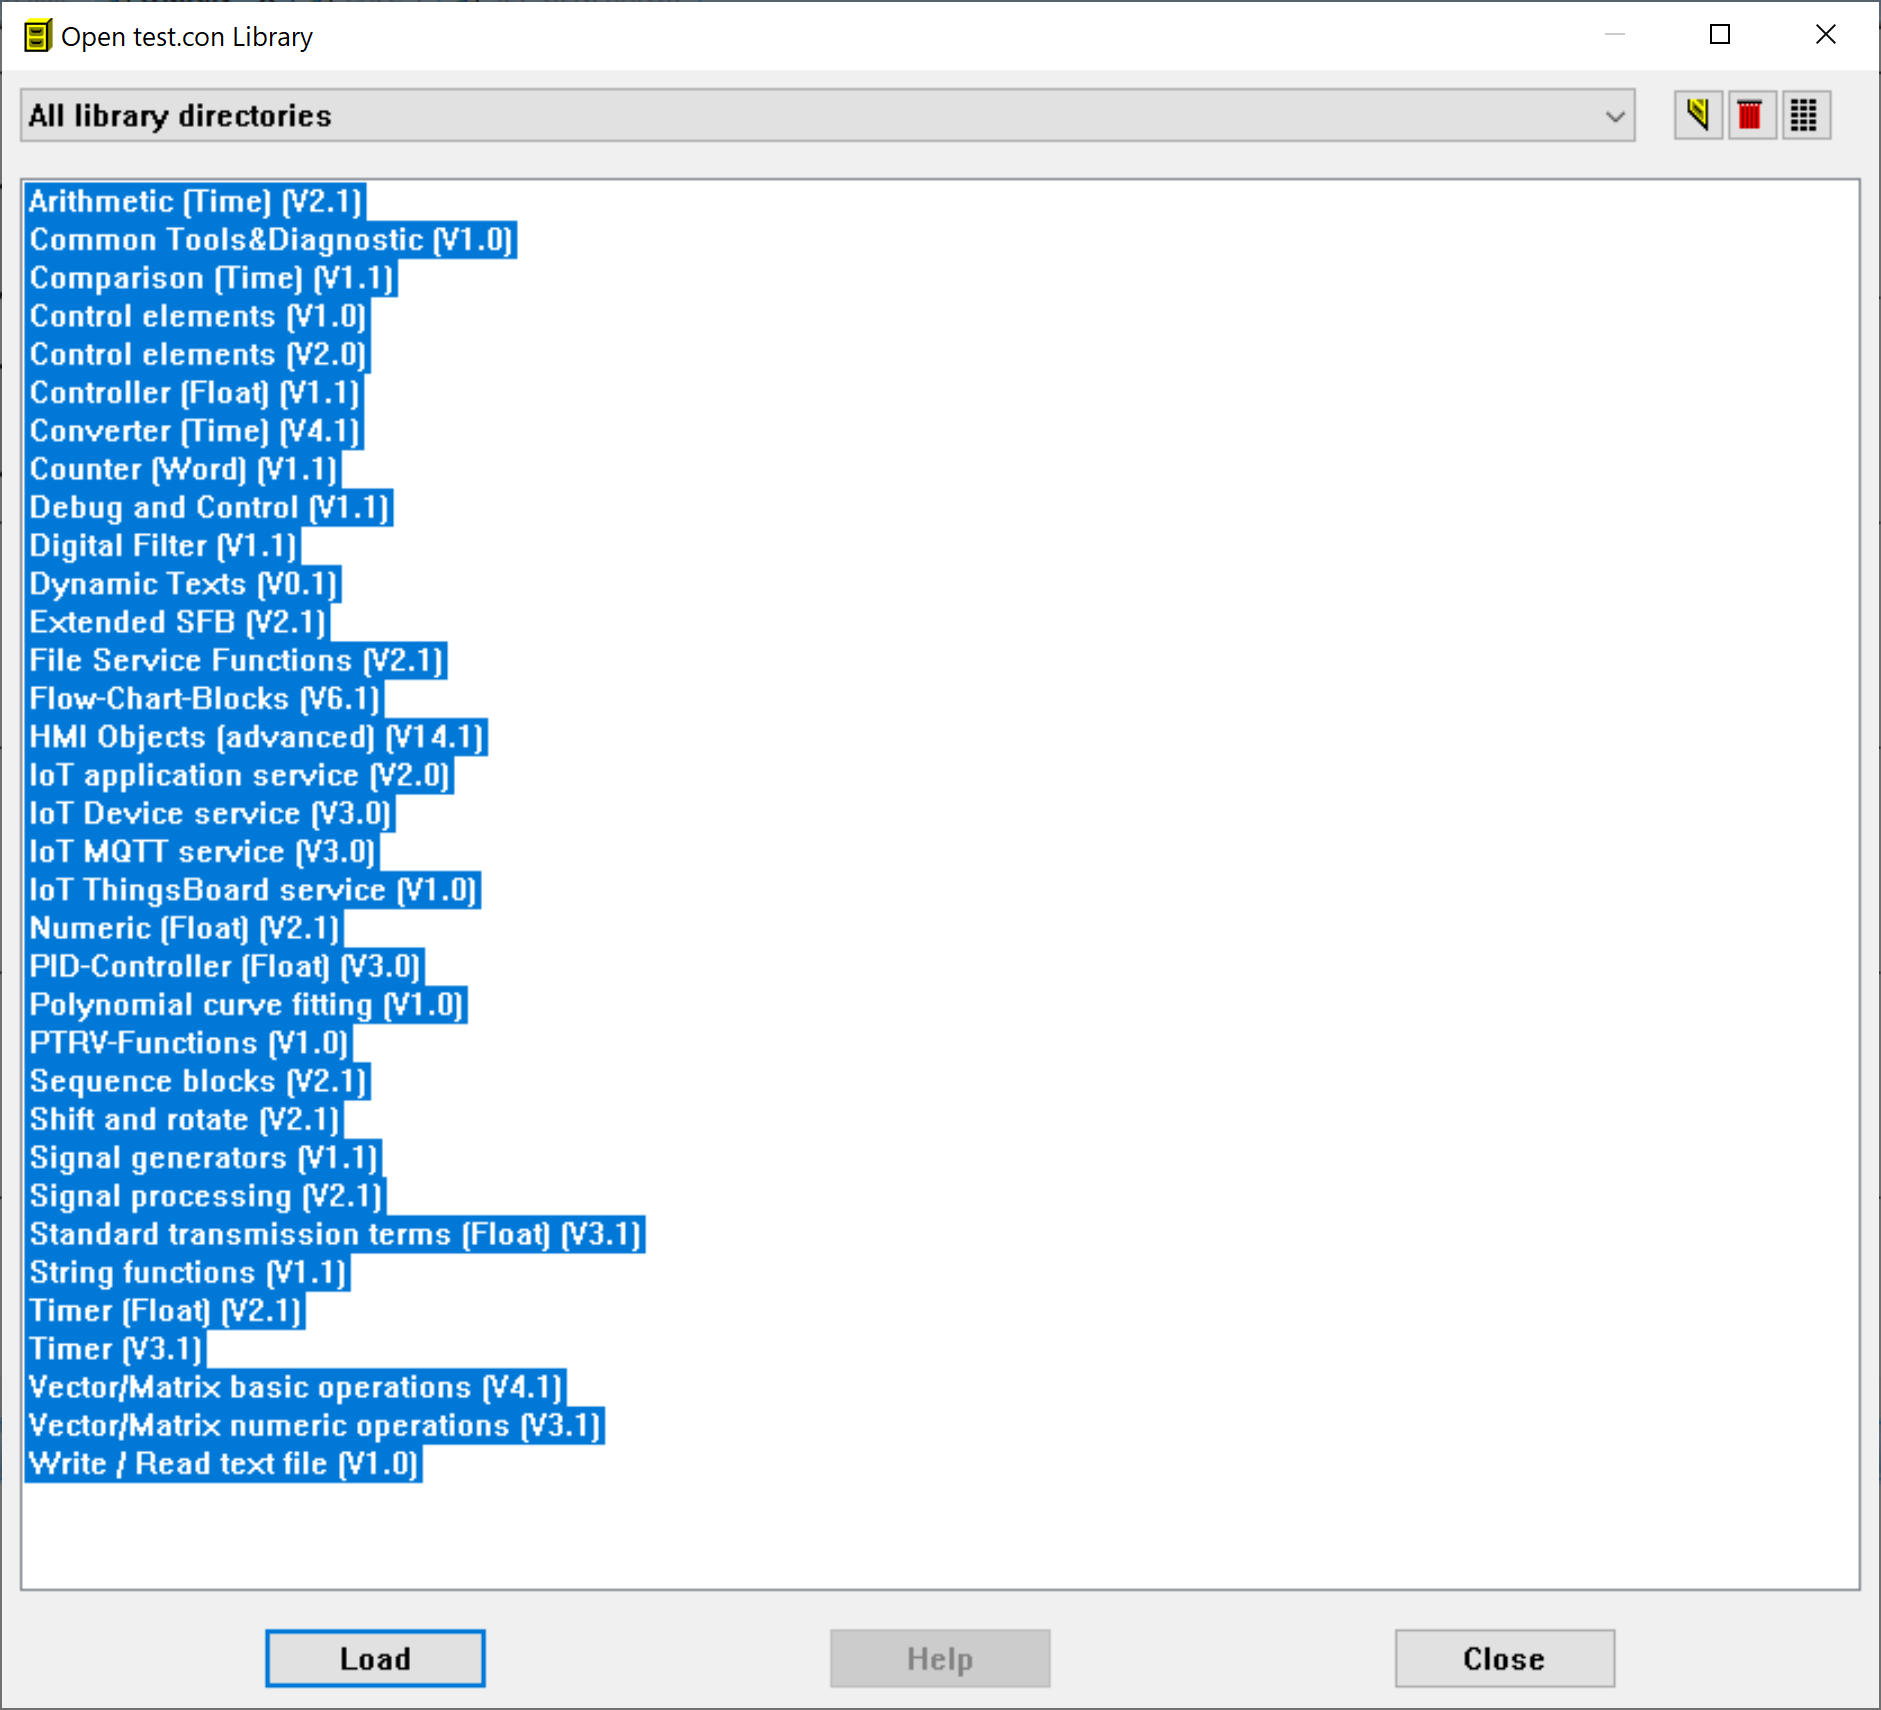
The chosen libraries will now be accessible from the function block library tree located on the right-hand side:
Editing a project
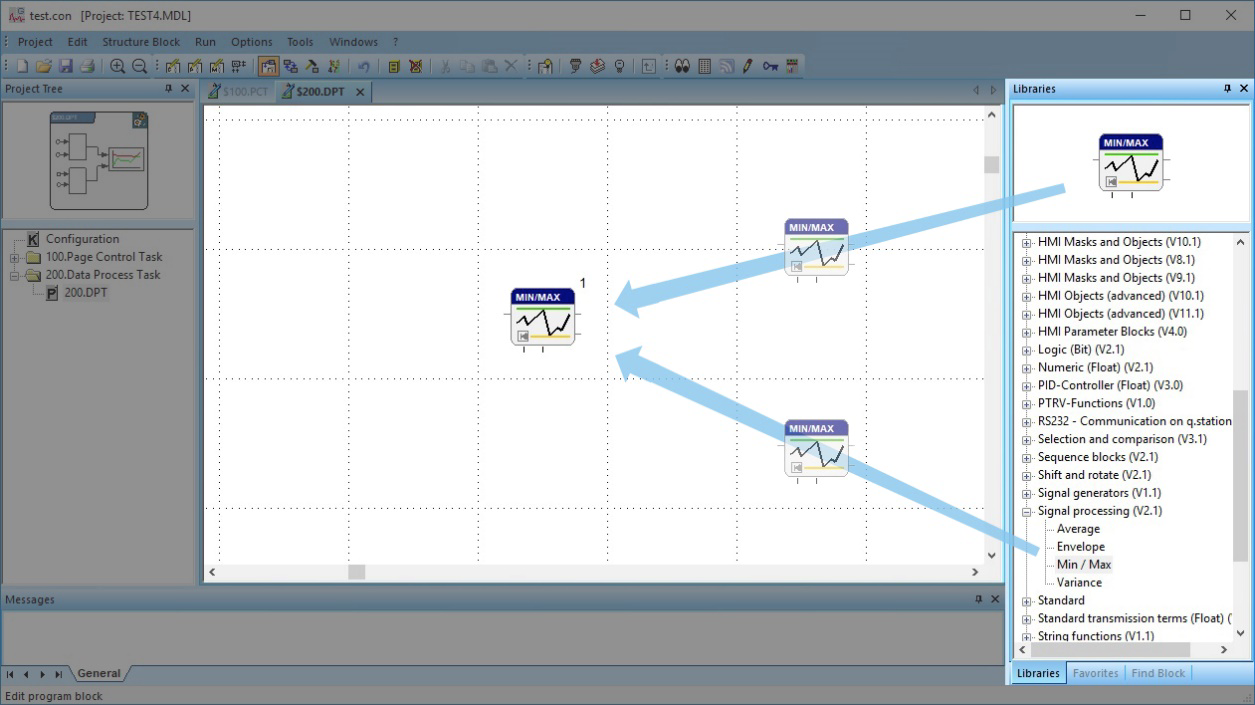
In a standard application (HMI DPA), the primary focus of logic/programming lies within the 200.DPT page. While programming is not restricted to this page, users can create multiple pages and individual macros as needed. To initiate the editing process for the DPT page, navigate to Edit > Configuration. Function blocks can be incorporated into the workspace by dragging them from the menus:
To incorporate inputs/outputs from the controller, use the Device Data Access Functions (Read/Write access). After dragging and dropping these functions onto the workspace, a list of variables will be displayed: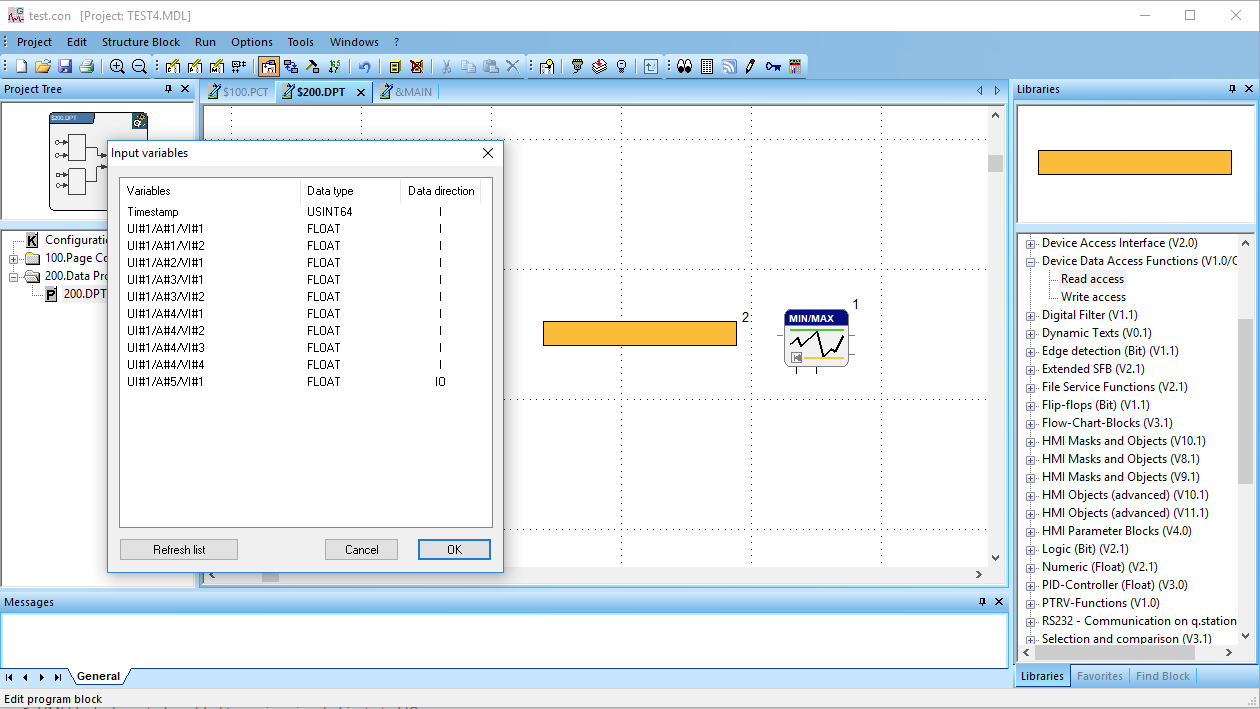
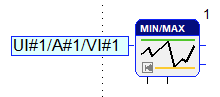
Alternatively, you can add I/O by right-clicking on an input/output point on the function block and selecting Assign Variable.
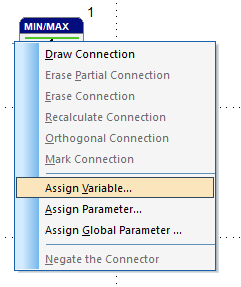
Then select the variable from the Data point administration window and click OK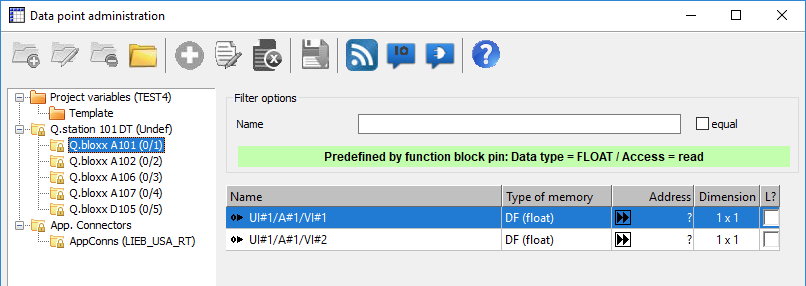
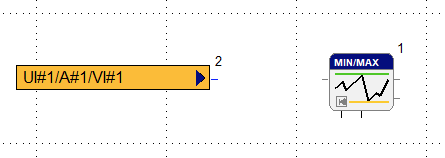
Function blocks and inputs/outputs are implemented via the drag & drop method, making connection points between them. Click on the output of one block, then click the output of another to connect them, our inputs to outputs.
click on the output:

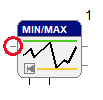
drag your cursor to the desired input:

click to create a connecting line:

HMI Blocks
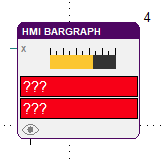
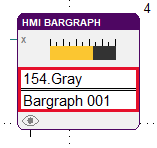
There are several types of visualization and graphical interface tools in the HMI Masks and Objects or HMI Objects libraries. These blocks create visual objects that can be assigned to the I/O. Dragging an dropping the HMI block onto the workspace will open the mask designer.

Enter the object's name and select which page/mask it will be located. Click Yes.

The object will be placed on the designed page. From here, it can adjust for size, placement, color, etc.
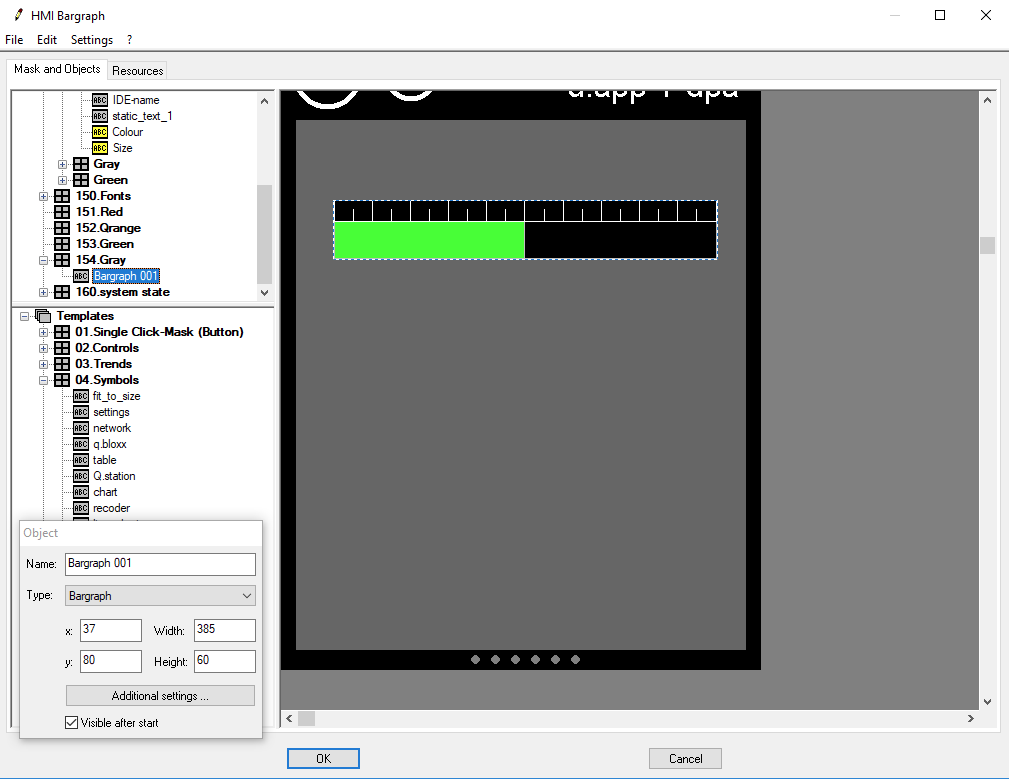
Click Additional Settings in the Object window or double-click the object. Depending on the object, more settings will be available. When finished, highlight the object, then click OK at the bottom. This will assign the name and location of the object. Then assign variables or parameters to the HMI block.
Download Project
Once the application is finished, we can download the program onto the controller. Go to Run > Logon to Target System. Since we did a Network Scan already, your controller should appear on the left.
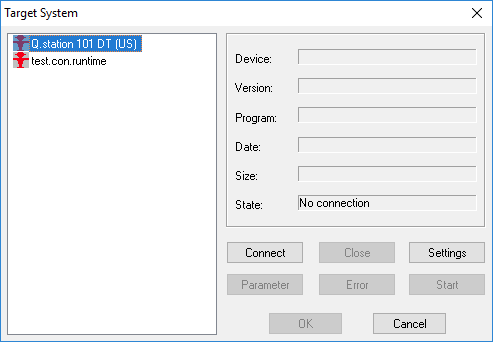
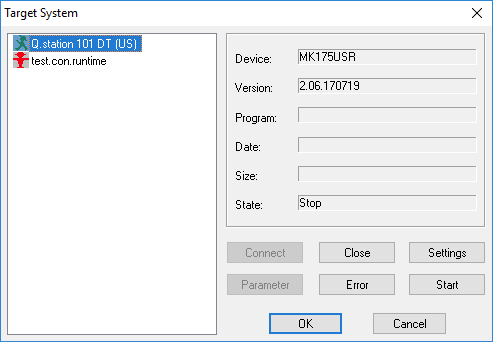
Click Connect to establish the network connection to the controller. The red icon will turn green, and the device info will appear if successful. That info will also appear if a previous test.con program is already loaded. Click OK to close out the window.
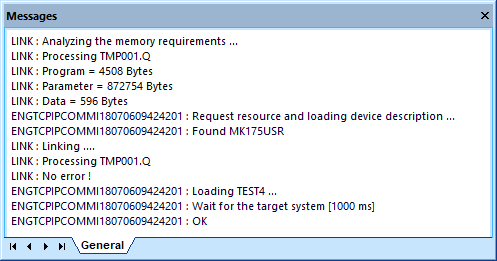
Now with the connection established, go to Run > Download. Save the project if you haven’t done so yet. If there are no errors, the program will be downloaded.
The software will enter an “online” state to observe and manipulate target system variables.
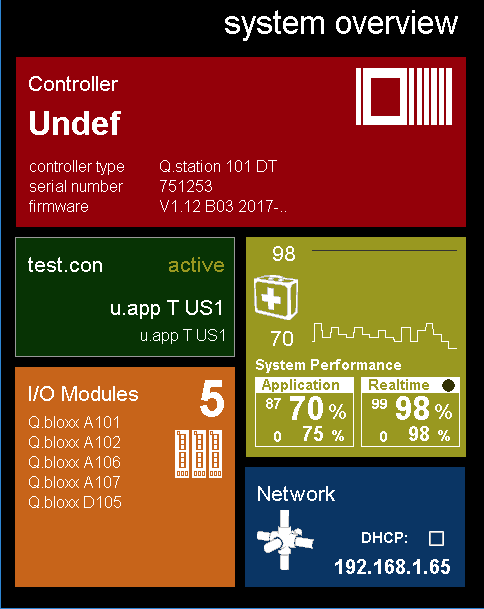
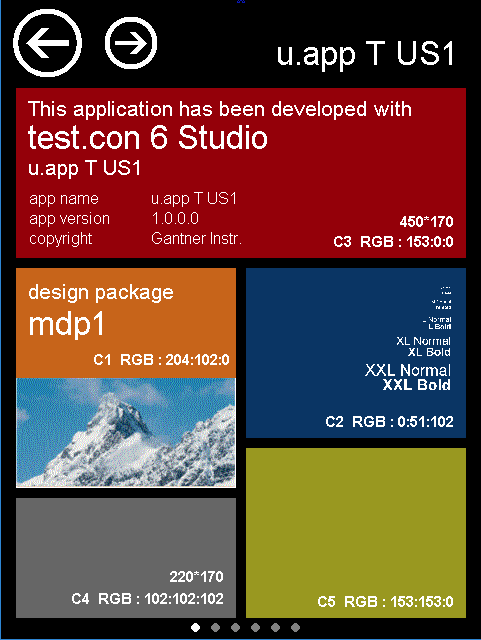
The system overview page will now show the active test.con project. Clicking on the green box will provide access to the customized graphical interface.
References
- test.con software download: Test.con 7.0.0