
How to send Data via E-mail using a Q.station and test.commander software
This guide describes how to utilize the e-mail feature of the Q.station. It is possible to send logged data from the Q.station via e-mail to a single e-mail address. For this guide, we have tested the feature using Gmail.
Procedure
Email clients are always updating their security procedures. Always check with specific email client's settings and updates.
- Open the Q.station in GI.bench/test.commander.
- Configure the Email settings inside the Q.station:
- Double-click on the controller
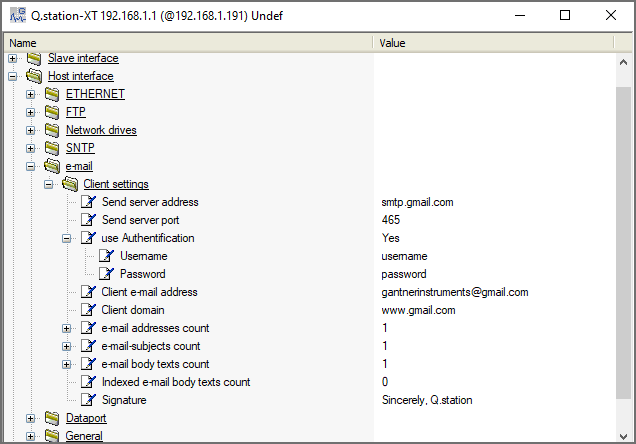
- Host interface > e-mail > Client settings:
- Send server address: This is the server of your Email client.
- Send server port: per email client (e.g. Gmail: 465 SSL)
- Use Authentication: Yes
- Username: Sender’s email address.
- Password: Sender’s login password.
- Client e-mail address: Sender’s email address.
- Client domain: Client’s domain (i.e., Gmail – www.gmail.com)
- Email address: Recipient’s email address.
- Email subject: Email’s subject line.
- Email body: Email’s body content.
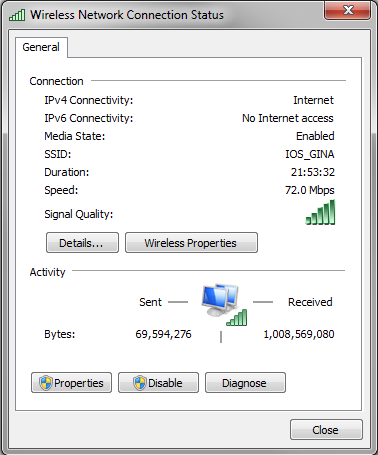
- Connect the Q.station directly to the Ethernet, via Ethernet port.
- Check the IPv4 DNS server settings using the PC. Select Details.
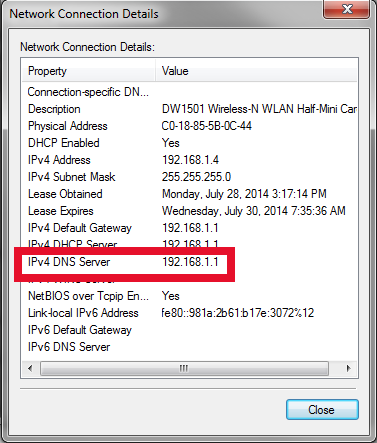
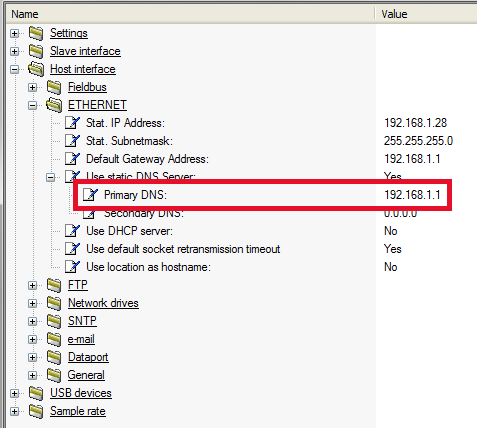
- Using test.commander settings, go to Host interface > Ethernet > Use static DNS Server: Yes. Enter the IPv4 DNS Server address as the Primary DNS.
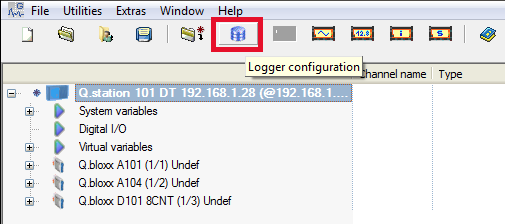
- Highlight the Q.station and click on the Logger configuration button.
- In the logger configuration page, select the buffer source, type of logger, and the channels to save into that logger. Complete the other logger settings.
Scroll towards the bottom of the page and activate the Email feature by checking the “Send an additional e-mail” box. Enter the Email Address to send to, the subject line to use, and the body contents of the email.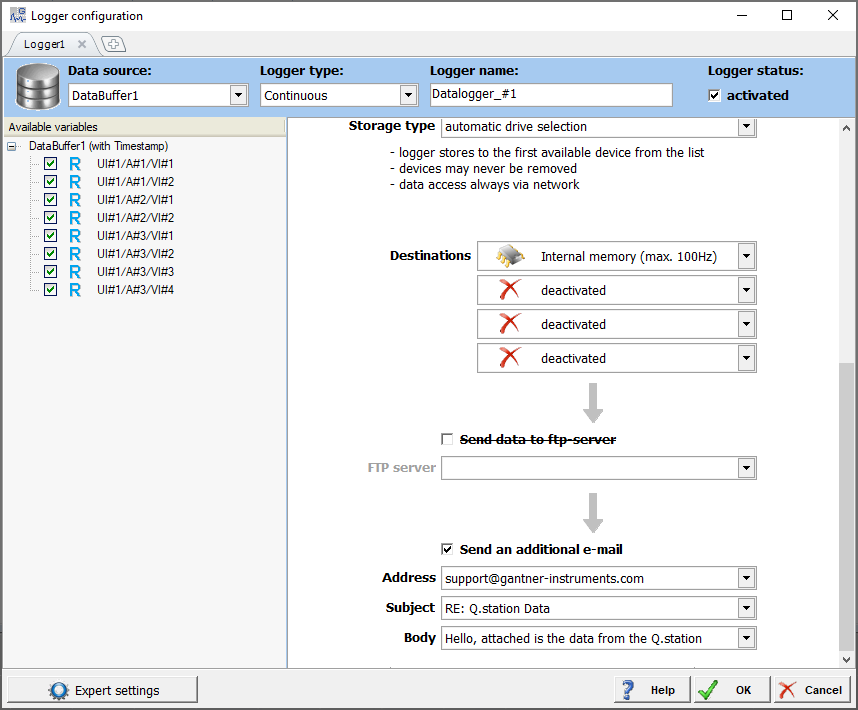
- Save the settings. Update the configuration to the controller.
- Once the settings have been updated and the controller is connected to the internet, the Data will begin to log and sent via Email.
- Example:
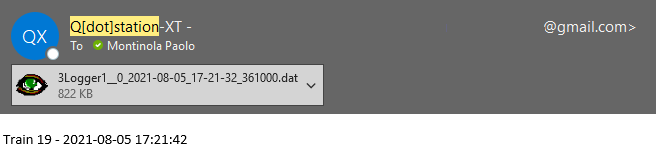
- The .dat file that is attached to the Email can be opened using test.viewer and converted into other formats (i.e. CSV).