Measuring Rotating Shaft Speed with Missing Teeth Correction
Explaining the reference gap correction algorithm of the D107 module for shaft speed measurement and its associated settings.
Background
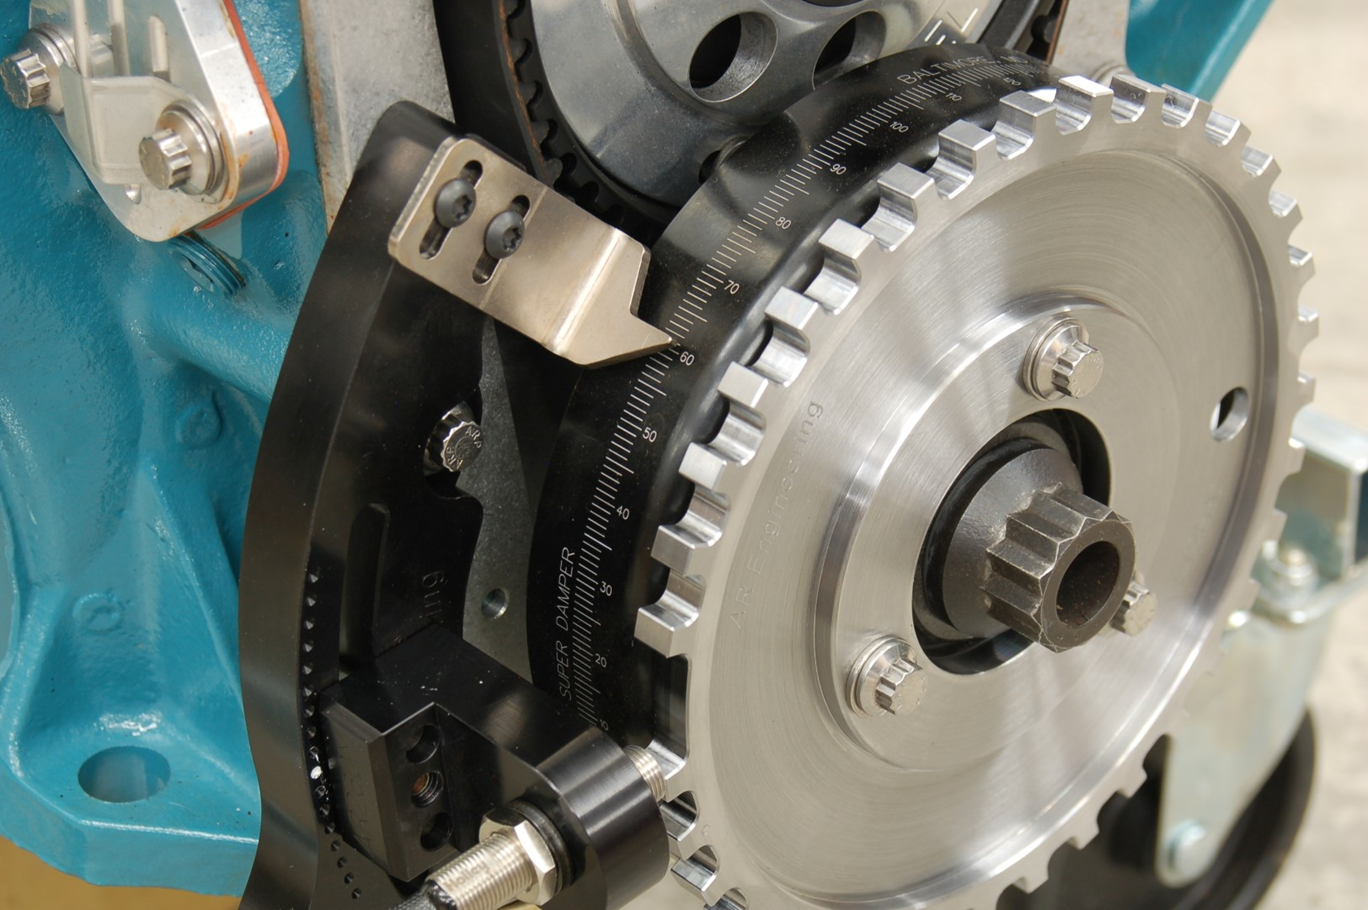
The "missing teeth" concept is frequently employed in mechanical systems, especially in applications where monitoring or controlling rotational speed (shaft speed) is essential. This concept utilizes a sensor to identify the presence or absence of teeth or notches on a rotating gear, disk, or wheel, enabling the measurement of rotation speed. The absence of teeth, creating a reference gap, often signifies a specific position such as the shaft's top dead center or starting point. Nevertheless, this reference gap can introduce inaccuracies in RPM calculation, as it momentarily suggests a slowdown in the calculated RPM.
The Q.series D107 digital input module incorporates reference gap correction functionality, allowing for the exclusion of the missing pulses when conducting RPM, frequency or counter calculations.
 Typical Gear Tooth Sensor with Missing Teeth
Reference gap correction
The reference gap correction algorithm always considers the three consecutive measurement periods. It identifies the maximum value and calculates the sum of the two smaller values. If the maximum value is greater than the sum of the two smaller values and the reference gap falls within these three periods, the algorithm will add the specified number of missing edges to the total count of measured edges. Importantly, the presence of the reference gap does not generate an additional frequency result when it falls within the time span of frequency measurement. The algoritme has the capability to correct for up to 15 missing pulses (teeth).
The reference gap correction algorithm can detect a minimum of 2 missing pulses, meaning that a single missing pulse (tooth) cannot be corrected.
Configuration in GI.bench
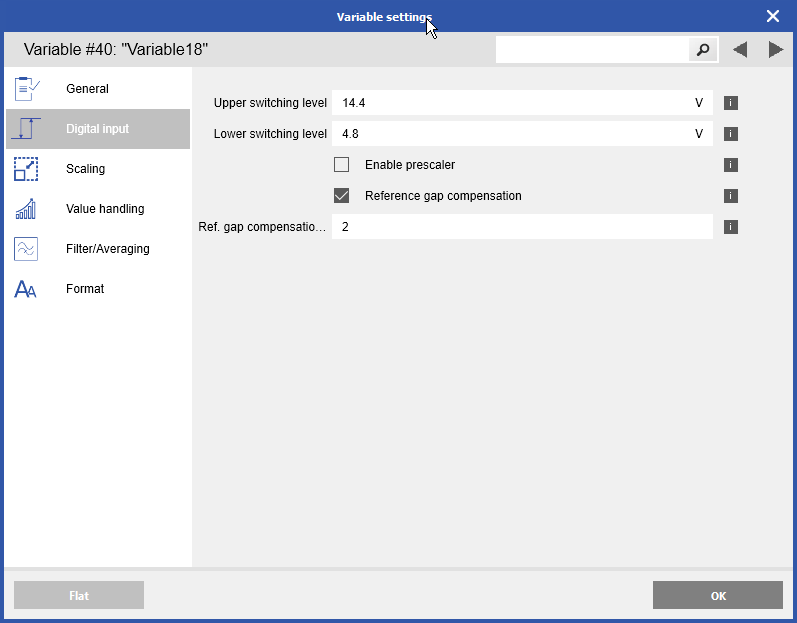
In the settings of the D107 frequency measurement variable, the reference gap compensation can be enabled, and then a parameter will allow you to specify the number of missing pulses (teeth).
